
Pool opening
The best time to open your pool remains the same: early spring when the ice is melted, and the sun is shining!
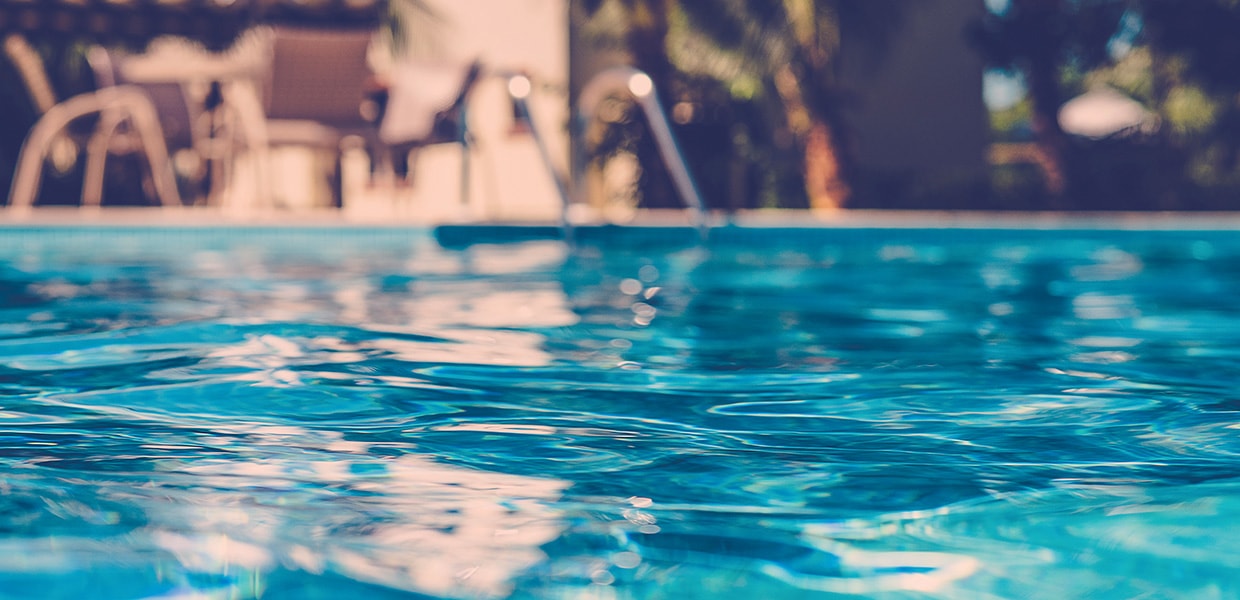
The opening of your pool is an important step to ensure that you can fully enjoy it. Before opening, check the general condition of your pool (cracks, visible pipes, damaged filter or pump, leaks, broken seals, abnormally low water level, etc.). If repairs are necessary, they must be done before starting your filtration system and adding water, otherwise the situation may become worse. Here are the main steps to follow if you want to open your pool yourself:
Step 1 – Preparation
- Remove the liner, if applicable.
- Remove leaves and larger debris that may have entered your pool (leaves, trash, etc.).
- Remove the Styrofoam protectors and the skimmer’s flange.
- Replace the basket and the small door in the skimmer and the return water eye.
Step 2 – Connecting the filter and accessories
- Connect the hoses that connect the skimmer to the pump, the pump to the filter, and the filter to the backwash.
- Reinstall the pressure gauge (wrap Teflon sealing tape around the threads), the filter tank cap, the backwash hose, and the clear bubble on the filter head.
- Fill your pool until the water level reaches the center of the skimmer.
Step 3 – Starting up the pool
- Connect the filtration system.
- Connect any other required equipment such as the heat pump or sanitation system. Be sure to follow the connection order.
- Clean the bottom of the pool with the vacuum cleaner, taking care to place the filter in “waste” position to evacuate the heaviest dirt.
- If you have a cartridge filter, use the bypass valve.
- Clean the pump’s filter basket often to ensure proper suction.
- Raise the water level if necessary (in the center of the skimmer).
- Turn on the filter and perform a light backwash.
- Run the pool for 5 to 6 hours before testing.
NOTE : Make an inventory of the cleaning products you have, carefully checking the expiration dates.
Step 4 – Shock treatment and water treatment
- When your pool water is clean, bring a water sample to your Sima dealer to have your chemical parameters analyzed. This way, you will optimize the action of the chlorine or other disinfectant you use and protect your equipment.
- Check the pH so that it does not exceed 7.4 to ensure that the opening products are working at their full potential (if there is an adjustment, wait four (4) hours before proceeding to the next step).
- Your Sima dealer will recommend the correct opening kit or individual products required for your pool depending on your situation.
- Add the products according to the instructions.
- Wait 24 hours and do a backwash.
- If you open your pool later and it is very dirty, you may need additional shock treatments.
- Run the pump 24 hours a day until the water is clear.
- If you didn’t do it at closing, clean the sand filter or your cartridge.
- Finish the installation by installing the ladder or stairs.
Step 5 – Balancing
When the water is finally clear, test the water and make adjustments as needed
- Alkalinity (ideally between 80 and 120).
- pH (ideally between 7.2 and 7.8).
- Hardness (ideally between 200 and 300).
- Stabilizer level (ideal level is between 30 and 50, with a maximum of 100).
Ask your Sima dealer for pool maintenance tips. Who doesn’t like to save time and avoid problems? We all want our pool maintenance to be quick and easy. Depending on the type of sanitizer you choose, you will need to add it 1) every day; 2) every other day; 3) once a week! There are maintenance kits on the market that can be used weekly.
Pool winterizing
A properly done closure will protect your pool from winter damage and make it easier to reopen in the spring.
When is the best time to close your pool? As late as possible! The ideal time is generally between late September and early November. It is best to wait until the water has reached about 10°C (50°F). It is important to continue always filtering your pool water until it is closed.
The following are recommended steps for closing a pool:
1. One week before closing the pool, clean the sand or cartridge filter. Balance the water to achieve a pH of 7.6 and a total alkalinity of 120 ppm.
2. Remove the solar cover and clean it.
3. Remove all debris from the bottom of the pool with a leaf catcher. If necessary, use the sweeper in drain or draining mode (if so, the valve under the skimmer must be open to 100% skimmer and suction only through the skimmer if your pool is equipped with a bottom drain).
4. Lower the water level until the waterline is 30 to 40 cm (12 to 16 in.) below the backwash. This can be done by using the vacuum or bottom drain (with 100% bottom drain selected on the valve under the skimmer).
5. Remove the ladder or stairs from the pool.
6. Clean the waterline, skimmer, ladder or stairs.
7. Remove the door, skimmer basket and return water eye.
8. Move the valve handle under your skimmer so that water cannot flow out of the pool, normally where the hose from the skimmer to the pump is connected. Disconnect the hoses that connect the skimmer to the pump, the pump to the filter, and the filter to the return water.
9. If your pool is equipped with one, disconnect the water heater and your sanitation system.
10. Disconnect the hose that connects the bottom drain to the 3-way valve, connect the extension hose, tie it securely to a stake or to the edge of your pool. Pour the antifreeze into this hose.
11. For an in-ground pool, you will need to remove the water from the pipe using a wet/dry vacuum.
12. Insert a hose bib to protect the bottom drainpipe. Bend the end of the flange so that it is stuck in the pipe inlet.
13. Insert a block of Styrofoam into the skimmer and screw a plug into the water return.
14. Empty the pump and store it indoors, free of frost, during the winter.
15. Remove the following items from the filter: pressure gauge, drain hose clamp, viewing nozzle and gaskets. Store these items in the pump basket. It is strongly recommended to apply lubricant to the O-rings.
16. If your pool is equipped with a salt chlorination system, disconnect the cell, clean it and store it in a frost-free location. Remove and store the control panel if possible. Also disconnect and store your UV systems, chlorinator if required.
17. If the pool is equipped with a skimmer or backflow light, remove it.
18. If you have a heat pump, unscrew the piping and, using a wet/dry vacuum, drain the remaining water into the heater. Cover the heat pump with a protective cover.
19. Add the contents of the closure kit.
20. We recommend covering the pool with a bungee cord system and a winterizing net to facilitate cleaning in the spring. In addition, you will protect your pool cover from the sun’s rays.
These instructions are not exhaustive and depending on your installation, other steps may be required, especially if it is an in-ground pool.
We strongly recommend that you call on a Sima expert at least once to explain in detail the closing steps required for your pool model and installation.